Nirvana HQ was designed around the methodology provided in this programme. It has a simple interface and is available on most major platforms.
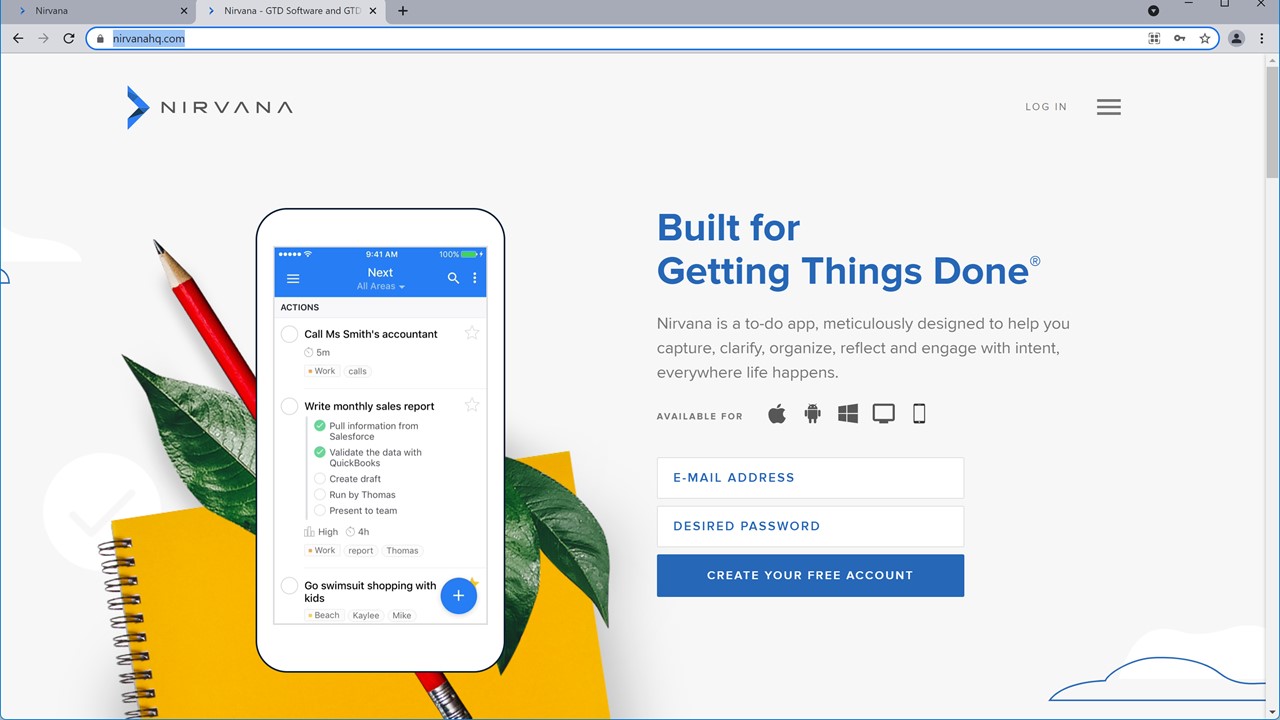
To get started, head over to https://www.nirvanahq.com and create a free account (image 1). Note: the system is free to use for a limited number of areas and projects, but there is an annual fee (or a one-off lifetime fee) if you want that limit removed. You could try the system without cost and see if it will work for you.
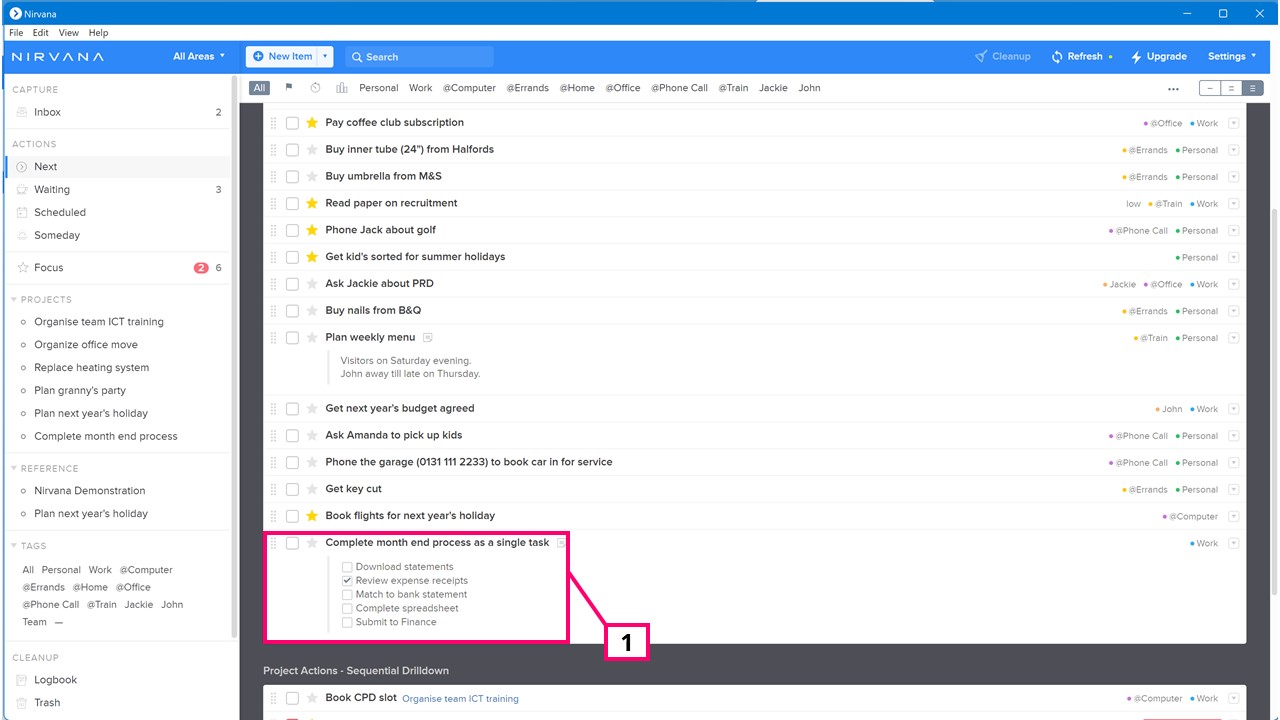
The starting point is to create the hierarchy, with the top-level being “Areas” (image 2.1) – for example you could divide your system into Personal and Work. You can create additional areas to match how you wish to organise the system. Nirvana can then be filtered to only show specific areas.
The next level is “Projects” (image 2.2) which you can attach to areas.
From there of course, we get “Actions” or tasks.
Getting started (Image 1)
Getting started (Image 2)
Creating Tasks (Image 3)
Creating Tasks (Image 4)
2) Creating Tasks
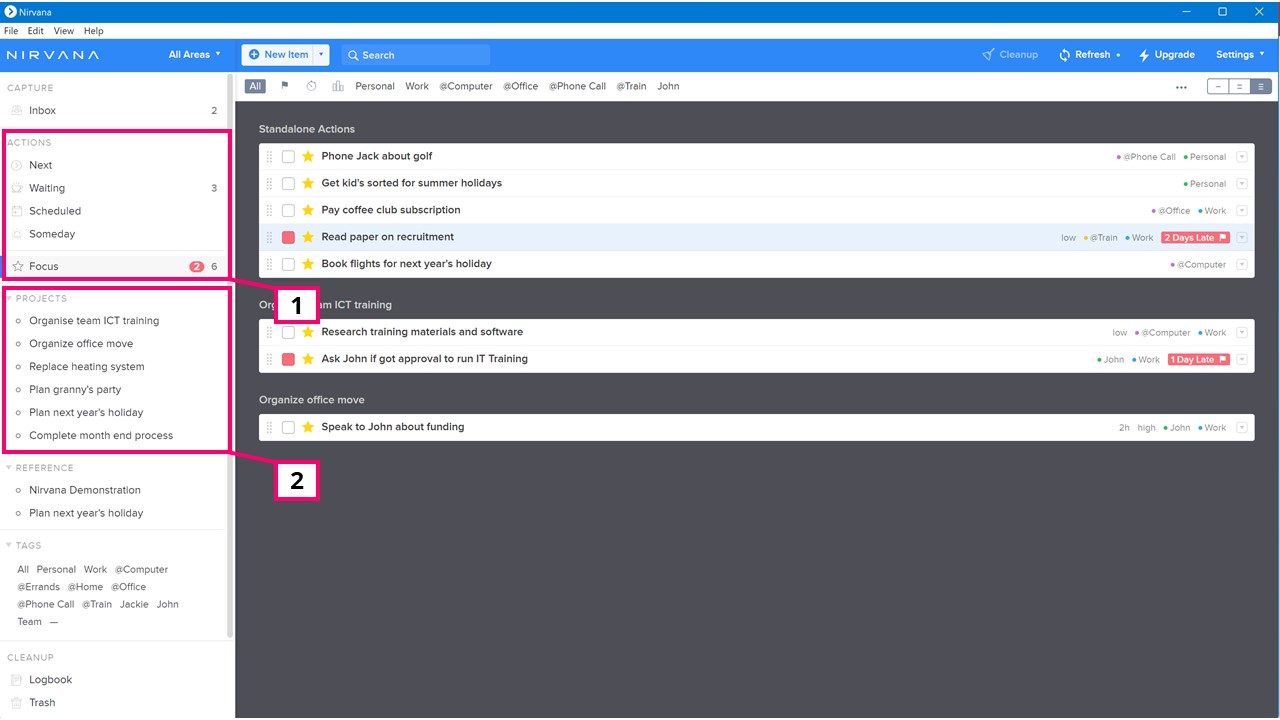
The main menu has an inbox (image 3.1); this is the default location for items quickly captured. Tasks can also be emailed directly into the inbox using the format *******@nirvanahq.in. To find out your personal email address, check the Nirvana settings.
From the top menu (image 3.2), a task can also be added to any status which captures and clarifies the item. With the task open, further details can be added (image 4.1), which captures, clarifies and organises the task. In addition to the task title, details can include the following:
Due Date
Context
Energy
Time
Status
If you’ve been following the programme, you will see that a number of these functions dovetail with the four criteria for choosing tasks as we engage with our lists.
3) Sub Tasks and States
Sub-tasks can be created by using the dash symbol in the notes which the system then converts to checkboxes (image 5.1).
In addition, a task can also have a state, which is available in the task details (Image 6.1) These allow the task to be assigned as a next action, waiting for, scheduled (image 6.2) and a someday/maybe; you will recognise this terminology from the frameworks in this programme.
The task can also be made recurring and the task state can be easily changed as the task progresses.
Sub Tasks and States (Image 5)
Sub Tasks and States (Image 6)
Navigation Menu (Image 7)
4) Navigation Menu
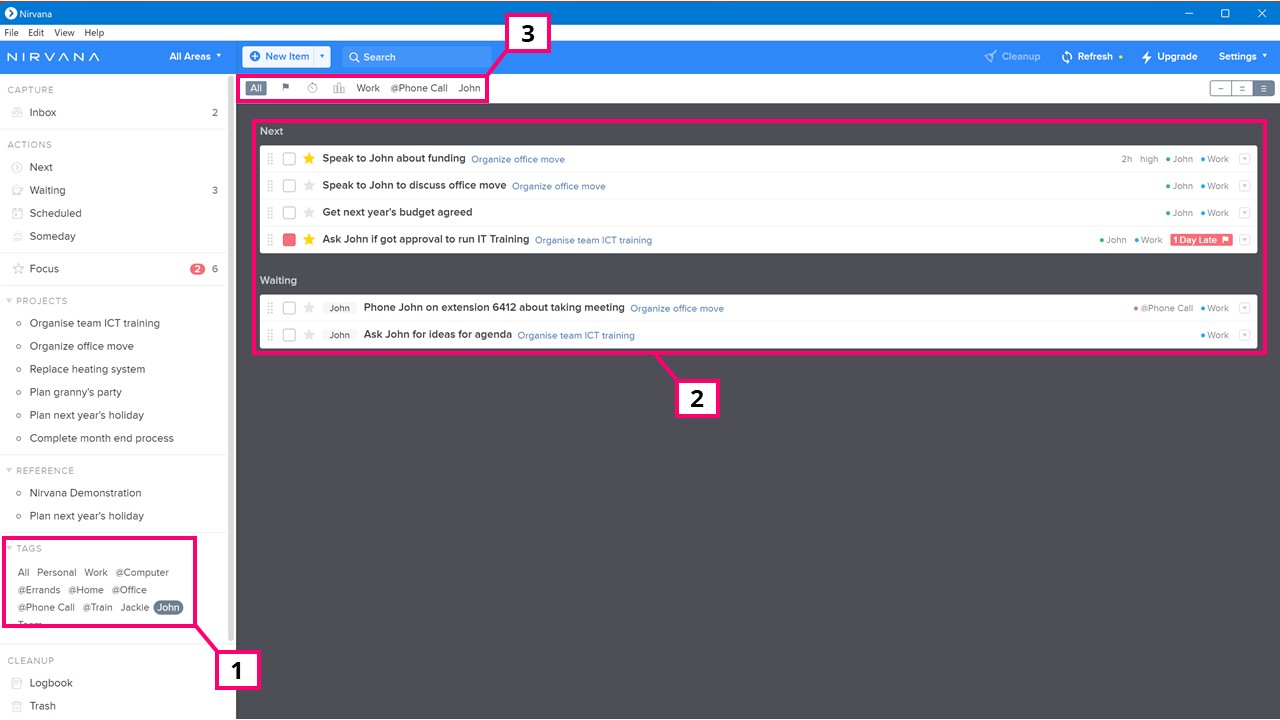
The left-hand navigation menu provides a quick filter of tasks by their state (image 7.1); next, waiting, scheduled and someday.
In addition, there is a “Focus” view, which show tasks that have been given a star or have a due date that is today or earlier.
This left-hand panel also allows for quick navigation of tasks by their relevant projects (Image 7.2).
Projects can be set as parallel (tasks can happen in any order) or sequential (tasks must happen in a specific order). To change this, right click on the project and select the project behaviour. Additional filters allow lists to show all tasks or only the next action for each sequential project.
5) Reference Lists
Nirvana provides an area for project templates, called Reference Lists. If a project is likely to occur again in the future, create the actions as a reference list. When the project occurs again, right click on the reference list and convert it into a project.
Reference Lists (Image 8)
Tags (Image 9)
6) Tags
This course has made repeated references to contextualising tasks; batching them together, for example by people, places and resources to accomplish the task.
Nirvana supports this method using tags (Image 9.1). The list is then filtered to show only tasks with that tag (Image 9.2). The top menu also allows for filtering by energy and time required.
Nirvana HQ is a great-looking and powerful system, and since it’s available on all major platforms it is a versatile solution that can be customised to your needs.
Scroll to Top
Get your Project on Track
Join us as we explore common project management challenges (STACK) and solutions.